Vue.js is a progressive JavaScript framework that is specifically designed for building user interfaces and single-page applications. As a versatile and adaptable framework, it fits the needs of developers who want to make complex user interfaces with simplicity.
One of the main reasons Vue.js has consistently been a popular choice among developers is its ease of integration with existing projects. It's also recognized for its reactivity, which makes creating dynamic interfaces much more straightforward.
Another notable feature is its component-based architecture, which promotes code reusability and maintainability. This comprehensive guide is specifically designed to help developers, both novice and experienced, understand the ins and outs of Vue.js.
It will provide step-by-step instructions on how to install and set up Vue.js using two popular methods, namely the Content Delivery Network (CDN) and the Command Line Interface (CLI). Moreover, it will guide you through the process of creating your first Vue.js project, helping you understand the structure and syntax of Vue.js, and how to apply it to build robust and efficient web applications.
Prerequisites
Before we dive into the main content, it is crucial to ensure that you have properly set up your environment. Here are the prerequisites you need:
- A stable and reliable internet connection. This is important as we will be downloading necessary files and resources from the internet. Interruptions in your network connection could lead to incomplete downloads or errors during the installation process.
- The second crucial requirement is having Node.js and npm (Node Package Manager) installed on your machine. We will use these for the Command Line Interface (CLI) method. Node.js is a runtime environment that allows you to run JavaScript on your server, while npm is the default package manager for Node.js. This duo is crucial for most modern web development tasks.
If you haven't installed Node.js and npm yet, don't worry. Here is a simple guide that you can follow: https://www.cuantum.tech/post/how-to-install-nodejs-on-windows-mac-and-linux-a-stepbystep-guide
So, before proceeding, please ensure you have met all these prerequisites. This will make the following steps smoother and more straightforward.
Installing Vue.js through a Content Delivery Network (CDN)
One of the most efficient and fastest methods to begin your journey with Vue.js is by utilizing a Content Delivery Network (CDN). A CDN is a globally distributed network of servers that delivers content to users based on their geographic location. This ensures that the content, in this case, Vue.js, is delivered swiftly and efficiently to the end user.
This method of installation is particularly beneficial for those who are just starting to learn Vue.js or those who are working on quick prototyping projects. By using a CDN, you can bypass the need for complex setup processes or extensive downloads. Instead, you are able to begin coding almost immediately, which makes it an ideal solution for beginners or those working under tight deadlines.
In summary, if you're looking for a quick, easy, and efficient way to start learning and working with Vue.js, consider the use of a CDN for your installation needs.
Step 1: Create an HTML File
- Open your preferred text editor and create a new file named
index.html. - Add the following boilerplate code:
<!DOCTYPE html>
<html lang="en">
<head>
    <meta charset="UTF-8">
    <meta name="viewport" content="width=device-width, initial-scale=1.0">
    <title>Vue.js CDN Example</title>
</head>
<body>
    <div id="app">{{ message }}</div>
    <script src="<https://cdn.jsdelivr.net/npm/vue@2.6.12/dist/vue.js>"></script>
    <script>
        new Vue({
            el: '#app',
            data: {
                message: 'Hello Vue.js!'
            }
        });
    </script>
</body>
</html>
Step 2: Open the HTML File in a Browser
- Save the
index.htmlfile. - Open the file in your web browser to see "Hello Vue.js!" displayed on the page.
This simple example demonstrates how easy it is to get started with Vue.js using a CDN.
Installing Vue.js via CLI
For larger projects, using the Vue CLI (Command Line Interface) is recommended. It provides a robust set of tools and optimizations for developing and maintaining Vue.js applications.
Step 1: Install Vue CLI
- Open your terminal and install Vue CLI globally using npm:
npm install -g @vue/cliStep 2: Create a New Vue Project
1. Create a new project by running:
vue create my-vue-project2. Follow the prompts to set up your project. You can choose the default preset or manually select features.
Step 3: Navigate to the Project Directory
- Change to the project directory:
cd my-vue-projectStep 4: Run the Development Server
1. Start the development server by running:
npm run serve2. Open your browser and navigate to http://localhost:8080 to see your new Vue.js application in action.
Building Your First Project with Vue.js
Now that you have successfully set up Vue.js on your system, it's time to dive into the world of Vue.js and start creating your very first application. This will be a simple, introductory project aimed at showcasing the extensive capabilities and innovative features that Vue.js brings to the table.
Whether you're a seasoned developer or a beginner just starting out, this project will provide a practical, hands-on experience to help you understand the power of Vue.js and how it can transform the way you approach web development. Let's get started!
Step 1: Modify the Default Template
- Open the
srcdirectory in your project and locate theApp.vuefile. - Replace the default template with the following code:
<template>
  <div id="app">
    <h1>{{ title }}</h1>
    <input v-model="newTodo" @keyup.enter="addTodo" placeholder="Add a new task">
    <ul>
      <li v-for="todo in todos" :key="todo.id">
        <input type="checkbox" v-model="todo.done">
        <span :class="{ done: todo.done }">{{ todo.text }}</span>
      </li>
    </ul>
  </div>
</template>

<script>
export default {
  data() {
    return {
      title: 'Vue.js Todo List',
      newTodo: '',
      todos: [
        { id: 1, text: 'Learn Vue.js', done: false },
        { id: 2, text: 'Build a project', done: false }
      ]
    };
  },
  methods: {
    addTodo() {
      if (this.newTodo.trim() === '') return;
      this.todos.push({
        id: this.todos.length + 1,
        text: this.newTodo,
        done: false
      });
      this.newTodo = '';
    }
  }
};
</script>

<style>
.done {
  text-decoration: line-through;
}
</style>
Step 2: Save and View Your Application
- Save the changes to the
App.vuefile. - Your development server should automatically reload. Open your browser and navigate to
http://localhost:8080to see your new Vue.js Todo List application.
Utilizing Vue DevTools for Enhanced Development Workflow
Vue DevTools is an exceptionally valuable browser extension that has been specifically designed to significantly enhance your development workflow. This powerful tool achieves this by providing robust inspection features and debugging capabilities that are second to none.
These features allow you to delve into your code, inspect it in a way that's far more efficient and effective than traditional methods, and debug with a level of precision that can save you countless hours in the development process. The utility of Vue DevTools extends beyond just inspection and debugging, it also offers a level of clarity and control that can prove instrumental in ensuring the success of your development projects.
Step 1: Install Vue DevTools
- For Chrome, visit the Chrome Web Store and search for "Vue.js devtools".
- Click "Add to Chrome" to install the extension.
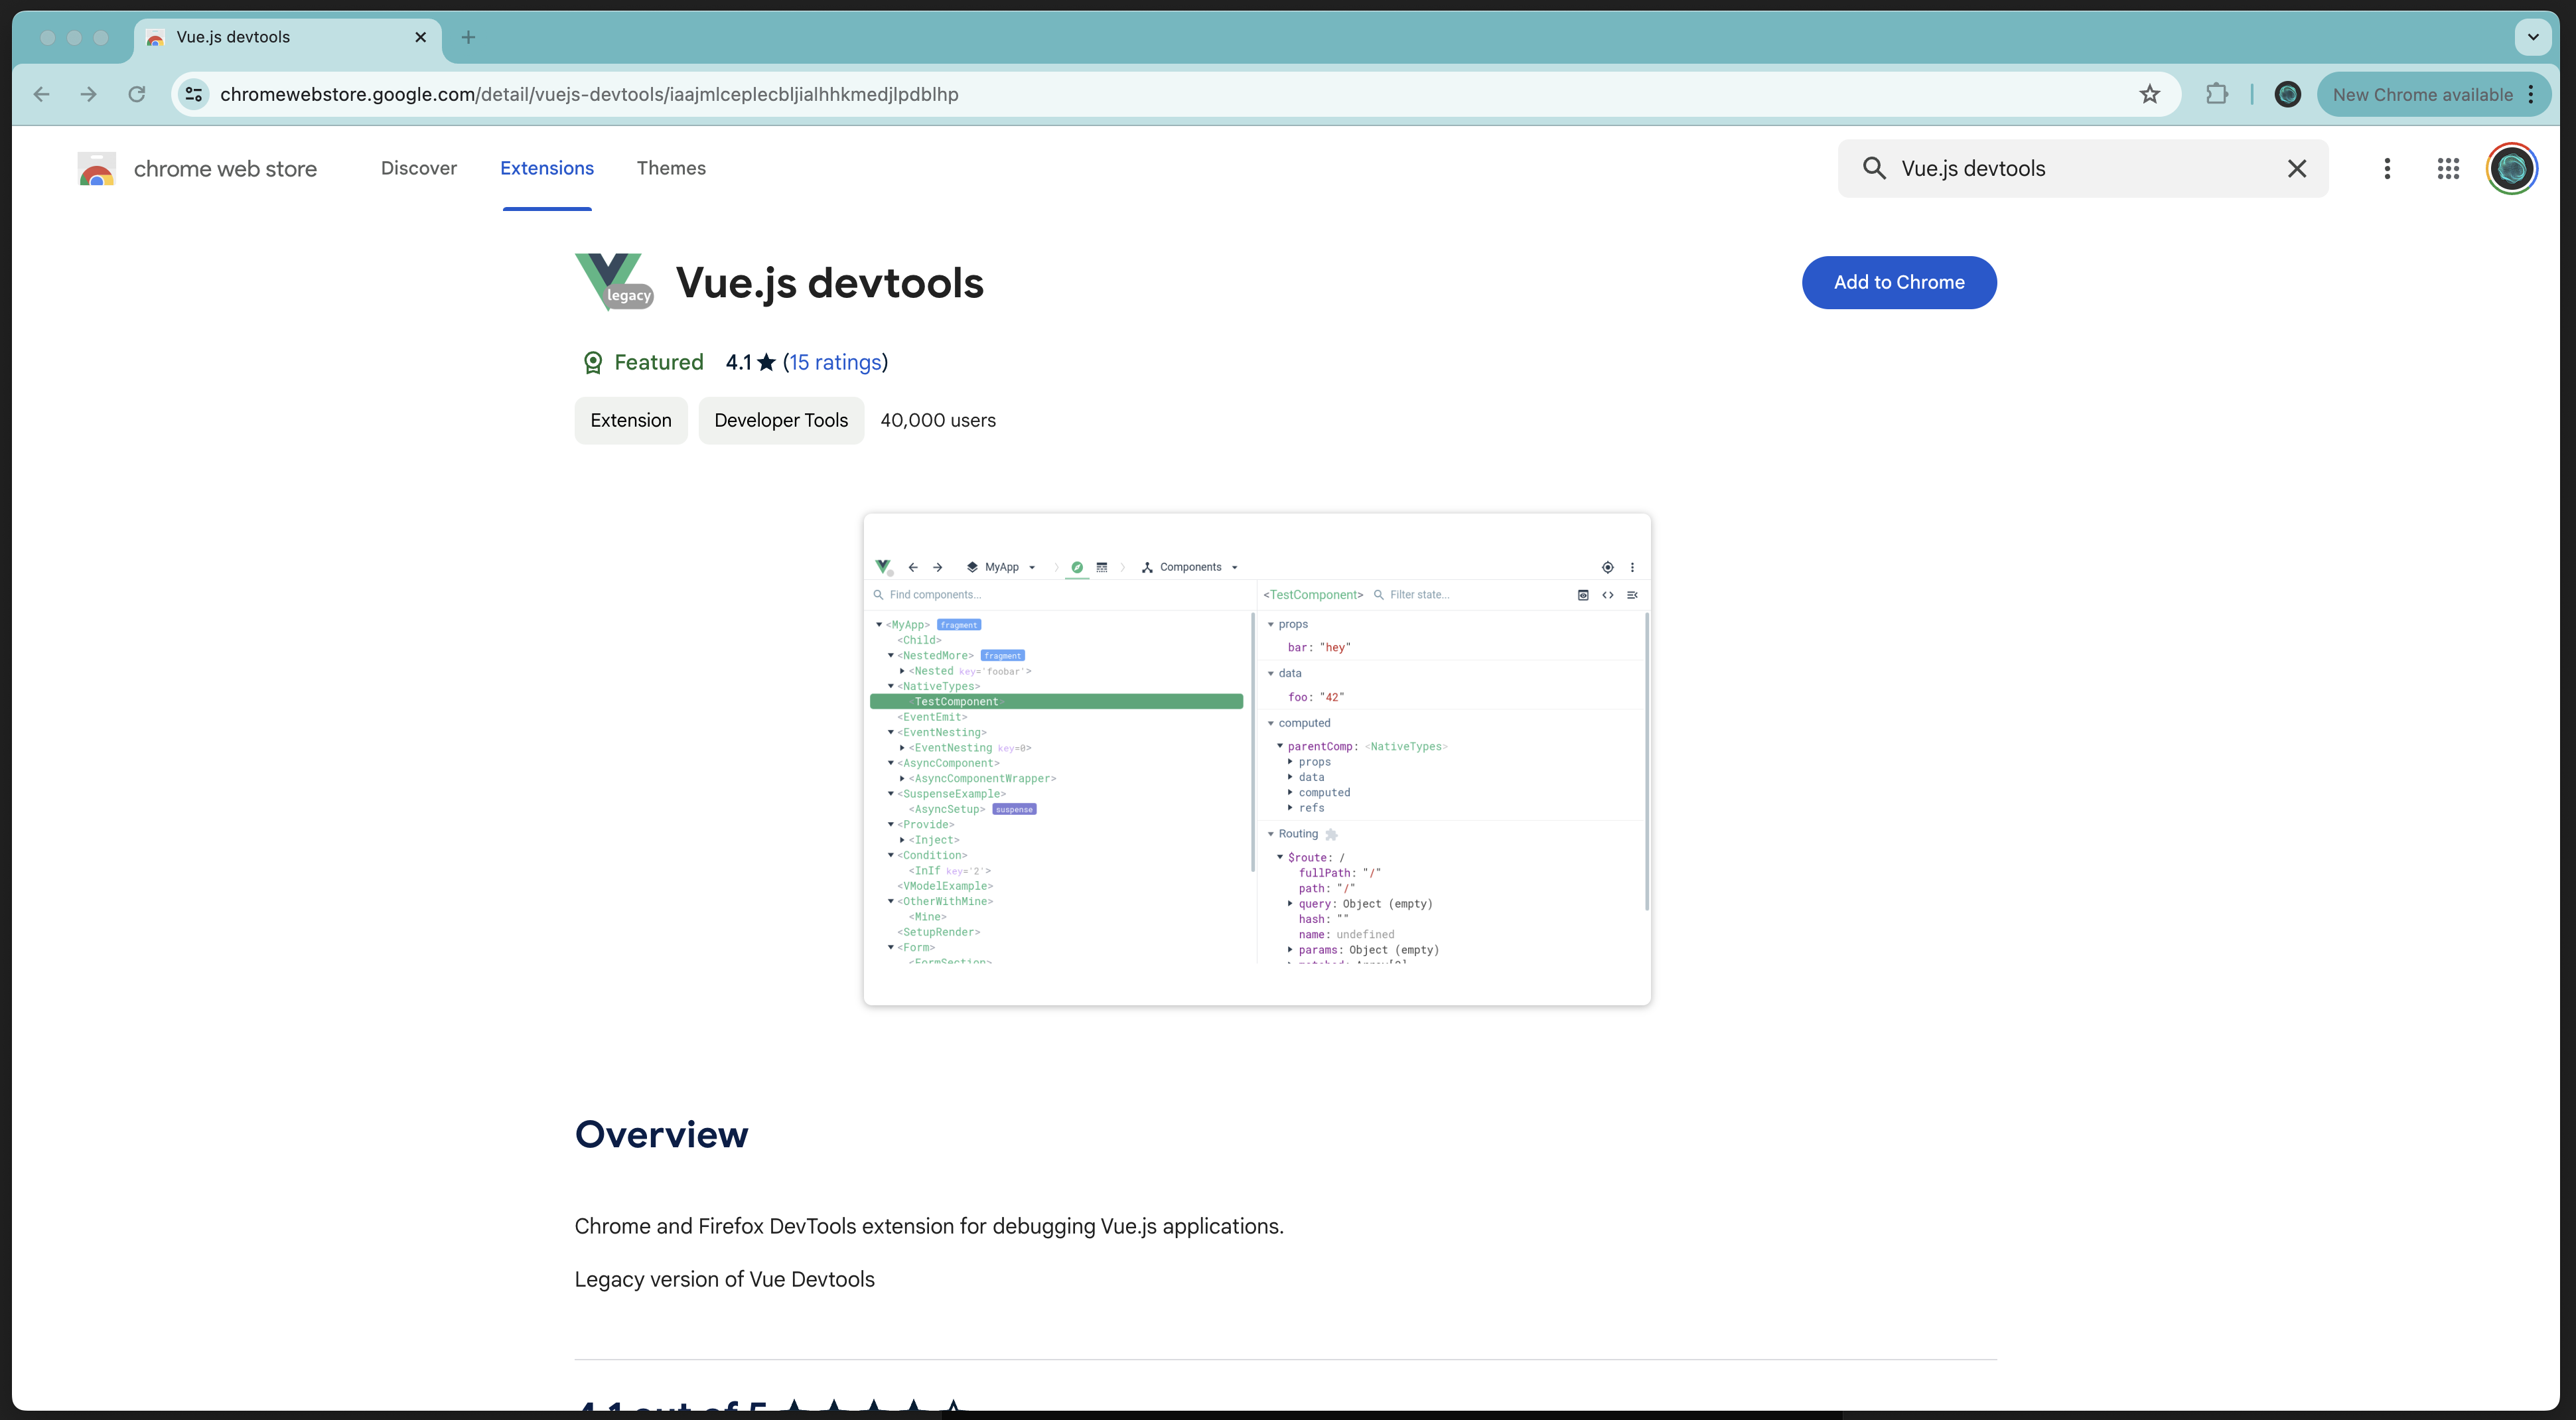
Step 2: Open Vue DevTools
- Open your Vue.js application in the browser.
- Open the Chrome DevTools (F12 or right-click and select "Inspect").
- Navigate to the "Vue" tab to access Vue DevTools.
Conclusion
The process of installing and setting up Vue.js is a relatively simple and straightforward one. Regardless of whether you choose to utilize the Content Delivery Network (CDN) for quick prototyping of small-scale projects, or the Command Line Interface (CLI) for the development of larger, more complex projects, Vue.js is an accessible and user-friendly platform.
Vue.js offers a wide array of powerful tools and resources that make the development of interactive web applications a smooth and efficient process. The framework it provides is intuitive and easy to navigate, making it an excellent choice for both beginners and seasoned developers alike.
This guide has taken you through the steps necessary for setting up Vue.js, providing you with the knowledge and understanding required to begin your own project. With this solid foundation, you are now well-equipped to dive into your next Vue.js project. Whether you're planning to create a small interface or a full-fledged web application, Vue.js is a reliable and efficient tool for your development needs.
FAQs
What is Vue.js?
Vue.js is a progressive JavaScript framework used for building user interfaces and single-page applications. It is known for its ease of integration, reactivity, and component-based architecture.
How do I install Vue.js using a CDN?
You can include Vue.js in your project by adding a script tag linking to the Vue.js CDN in your HTML file.
How do I install Vue.js using the CLI?
Install Vue CLI globally using npm, create a new project with vue create, and follow the prompts to set up your project.
What are the benefits of using Vue CLI?
Vue CLI provides a robust set of tools and optimizations, making it easier to develop and maintain large Vue.js applications.
How can I use Vue DevTools?
Install the Vue DevTools browser extension and use it to inspect and debug your Vue.js applications directly in the browser.
Discover "JavaScript from Zero to Superhero: Unlock Your Web Development Superpowers”
Why Choose This Book?
- Comprehensive Coverage: Covers everything from the fundamentals of JavaScript to advanced topics, ensuring a solid understanding of the language.
- Step-by-Step Instructions: Provides clear, step-by-step instructions to guide you through each concept, making learning easy and enjoyable.
- Practical Exercises: Includes hands-on exercises at the end of each chapter to help you apply what you've learned and build real-world projects.
- Real-World Examples: Features real-world examples that illustrate how to use JavaScript in various web development scenarios.
- Engaging Writing Style: Written in an engaging and accessible style, making complex topics easy to understand.
- Advanced Techniques: Delves into advanced techniques such as asynchronous programming, closures, and JavaScript frameworks to take your skills to the next level.
- Expert Insights: Learn from industry experts who share their tips, tricks, and best practices for mastering JavaScript.
Don't miss out on the opportunity to become a JavaScript superhero. Get your copy of "JavaScript from Zero to Superhero: Unlock Your Web Development Superpowers" today and start building dynamic, interactive web applications with confidence!